WooCommerce Website Plugin Tutorial
1. Login to your rBux partner account.
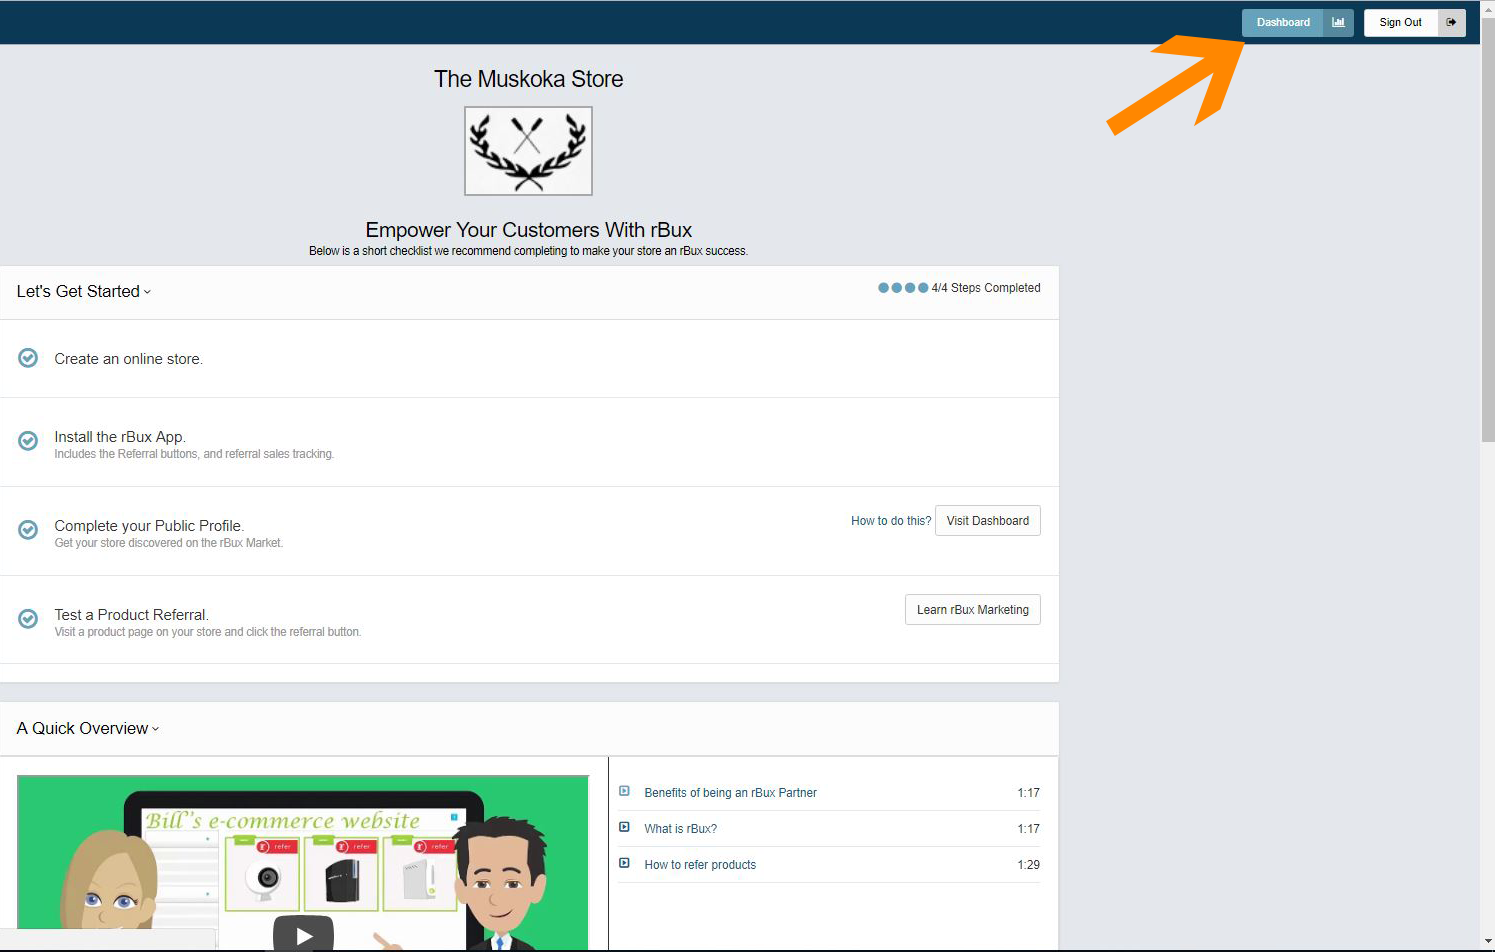
2. Once you are Logged in, click on the dashboard button at the top right of the screen.
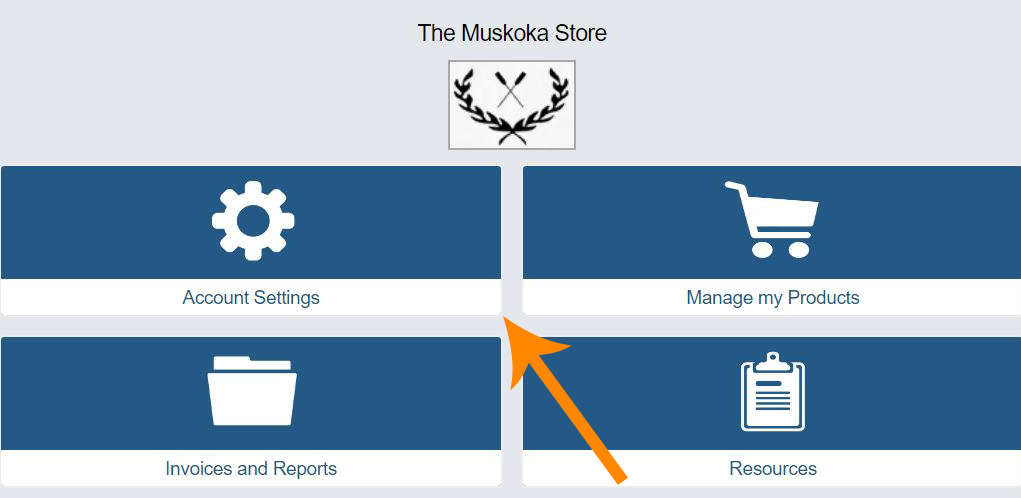
3. In the Dashboard menu you will be offered four options, click on Account Settings.
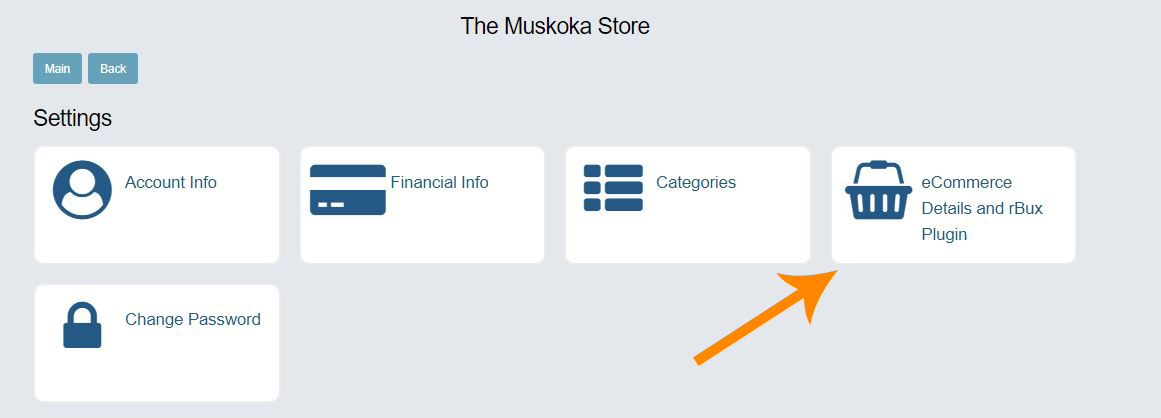
4. Once in the Account Settings, Select eCommerce Details and rBux Plugin.
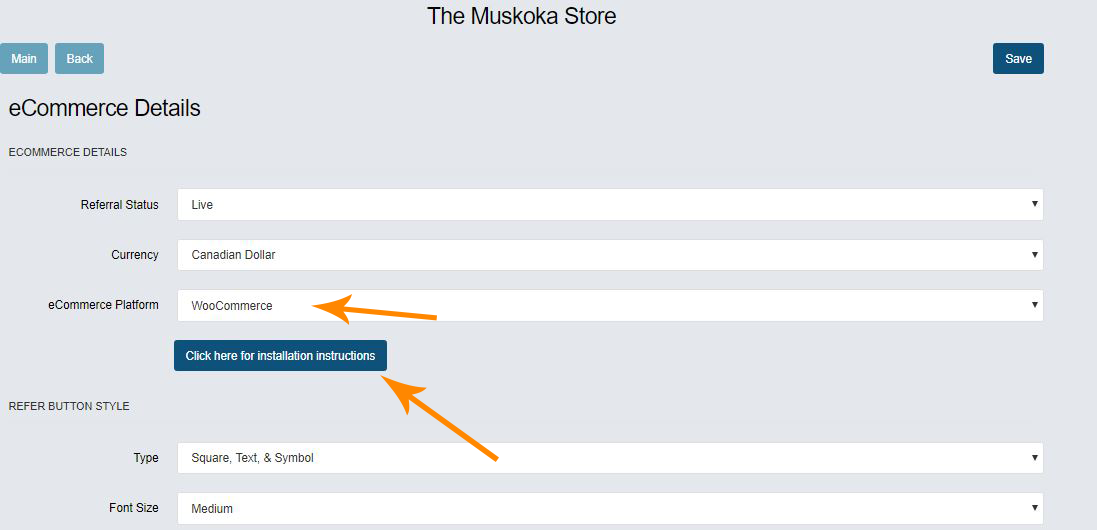
5. Once in the page, click on the eCommerce Platform drop down menu and select WooCommerce. and click on the button below it to download the .zip file.
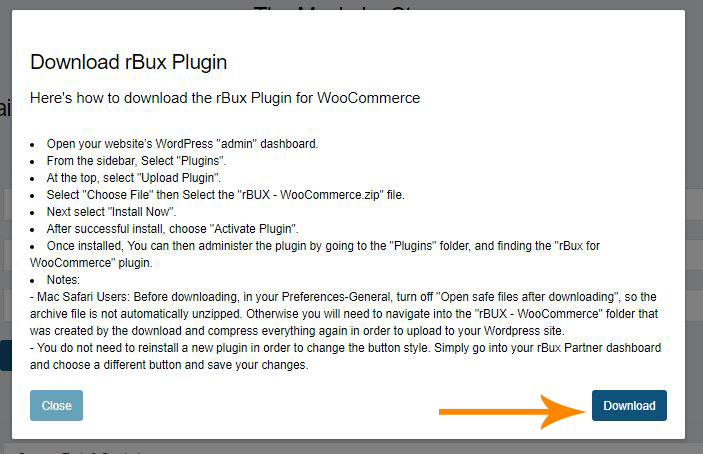
6. A page will appear when you click on the button. Click on the download button to download the zip file.
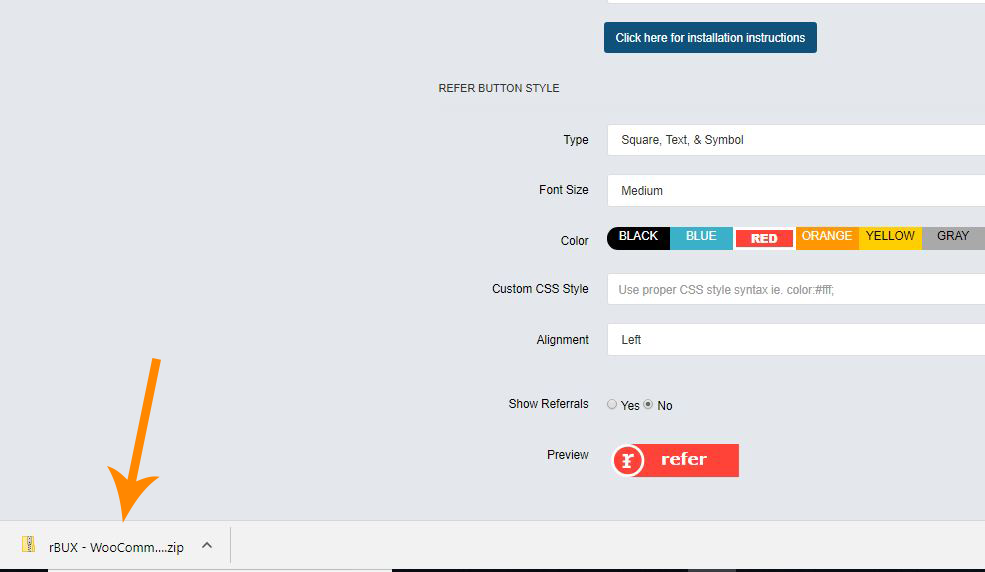
7. Once you have downloaded the file, make sure you know where the file is saved on your computer. Check your downloads folder if you are unsure where to find the file.
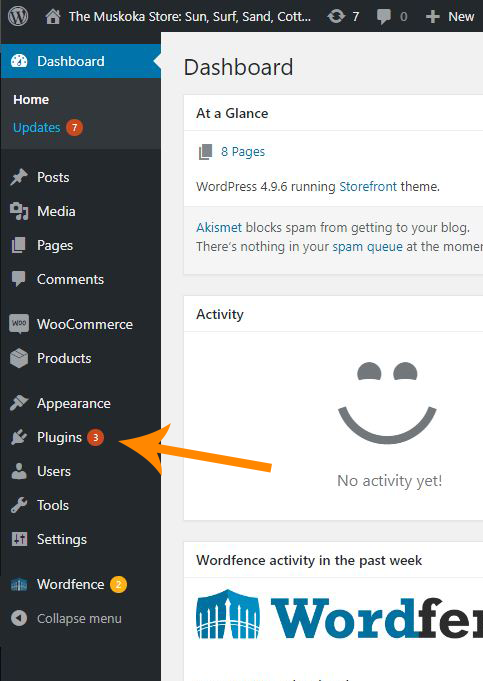
8. Next go to your website, in this tutorial we are using a Wordpress Website.
9. In the menu on the left hand side click on the Plugins tab.
10. In the Search box at the right hand side search: WooCommerce.
11.install that plugin.

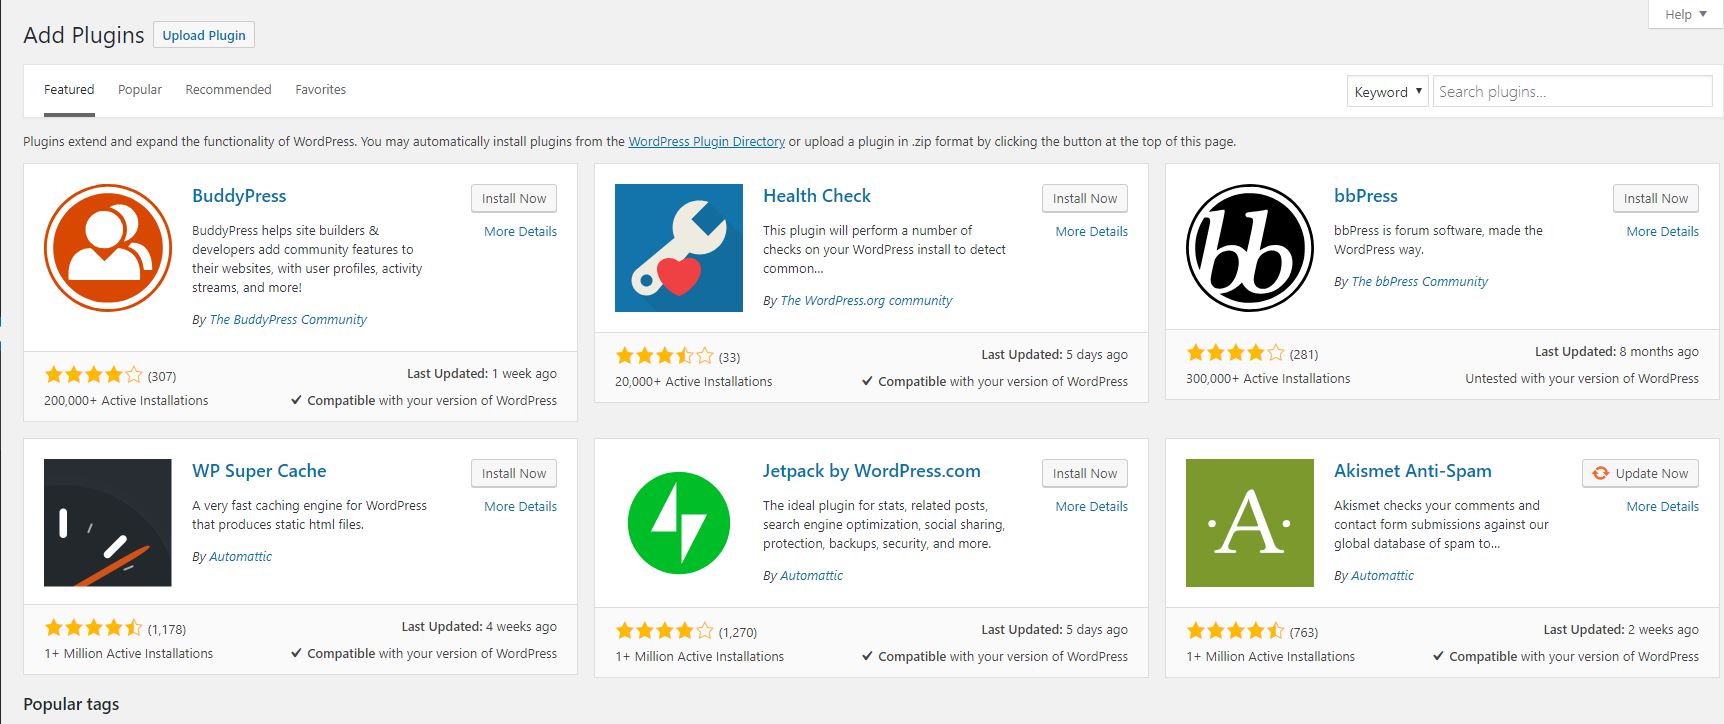
12. Once the WooCommerce Plugin is installed, return to the plugin tab.
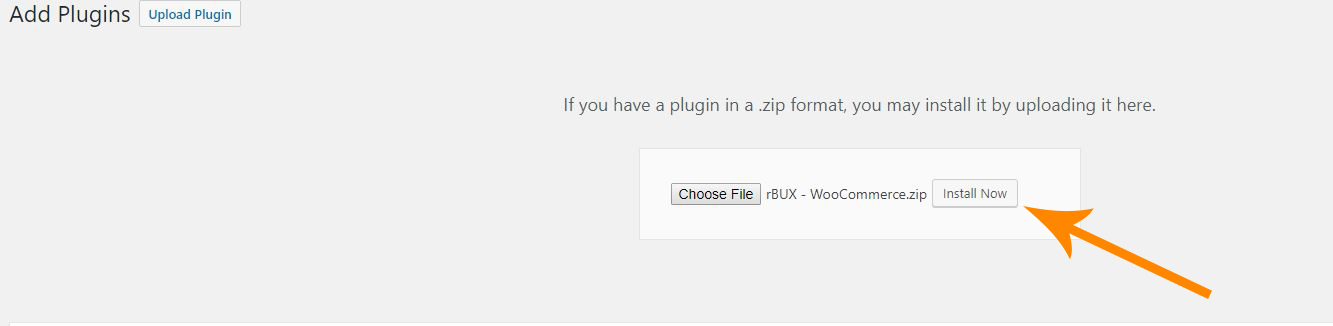
13. This time instead of searching for a Plugin, click on the button Upload Plugin beside where it says Add Plugins at the top left.
14. Click on Choose file, to upload the zip file we previously downloaded from the rBux website.
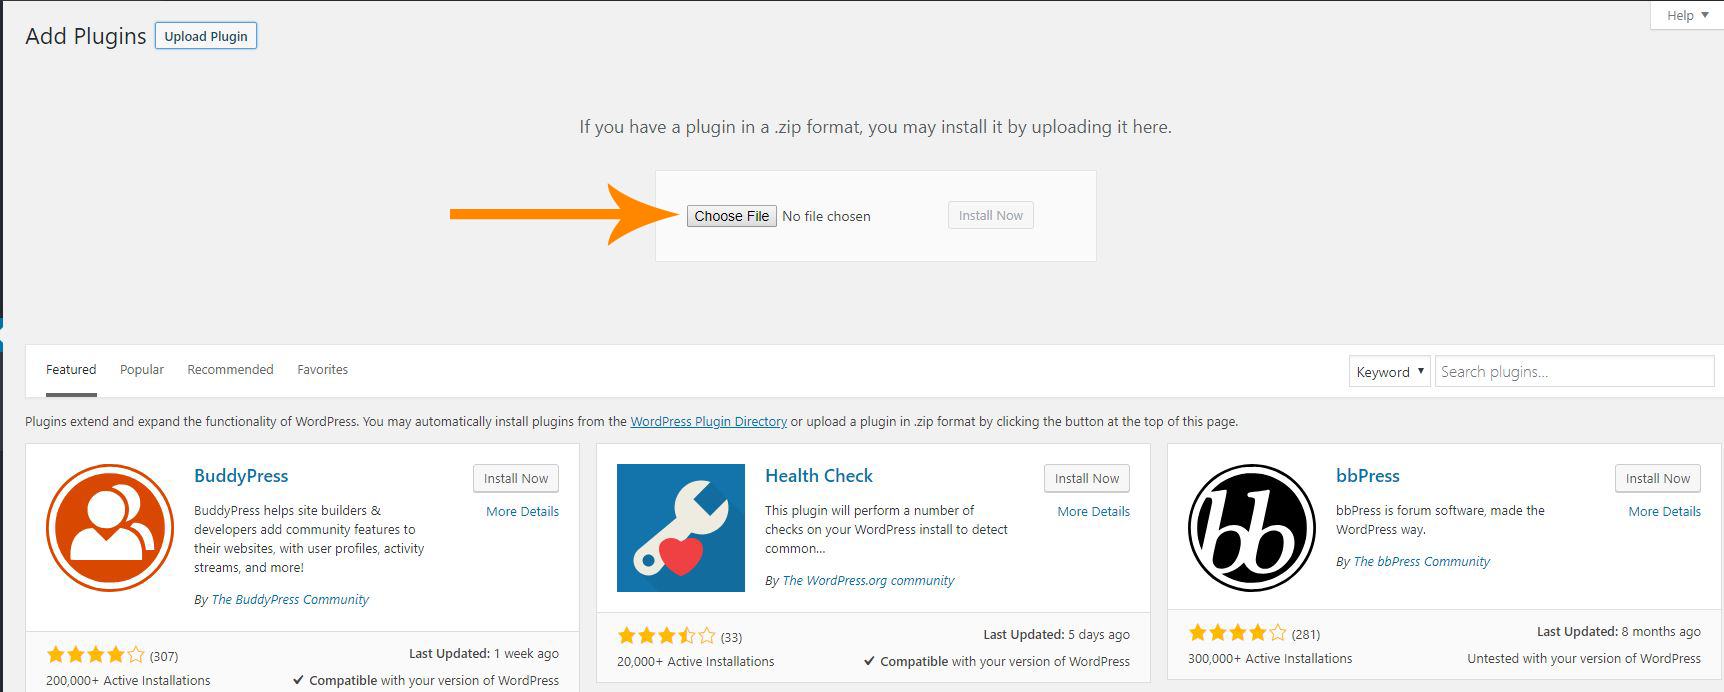
15. Once you have selected the Zip file from your computer, press the Install Now button to install the rBux plugin for your website.